
These low carb baked pepperoni pizza bites are the kind of thing my Aunt Denise brings out right before kickoff—and the tray is mysteriously empty by the time the first commercial hits. They give you all the pepperoni pizza flavor without a traditional crust, leaning on mozzarella and pepperoni to form a savory, cheesy base that crisps up beautifully in the oven. This style of pizza bite likely grew out of the low-carb and keto wave of the last decade, where home cooks started rethinking classic party snacks to fit new eating habits without sacrificing that familiar, cozy, Midwestern game-day feel.
Serve these pizza bites straight from the sheet pans while they’re still hot and bubbly, with small bowls of warm marinara or pizza sauce for dipping. They pair well with a simple green salad dressed in a sharp vinaigrette to cut through the richness, or with a platter of raw vegetables and ranch for a classic game-day spread. If you’re pouring drinks, they go nicely with light beer, a crisp white wine, or sparkling water with lemon. Keep them on the sheet pans on a wooden board or butcher block so guests can grab them quickly between plays.
Low Carb Baked Pepperoni Pizza Bites
Servings: 24–30 bites (about 8–10 appetizer servings)
Ingredients
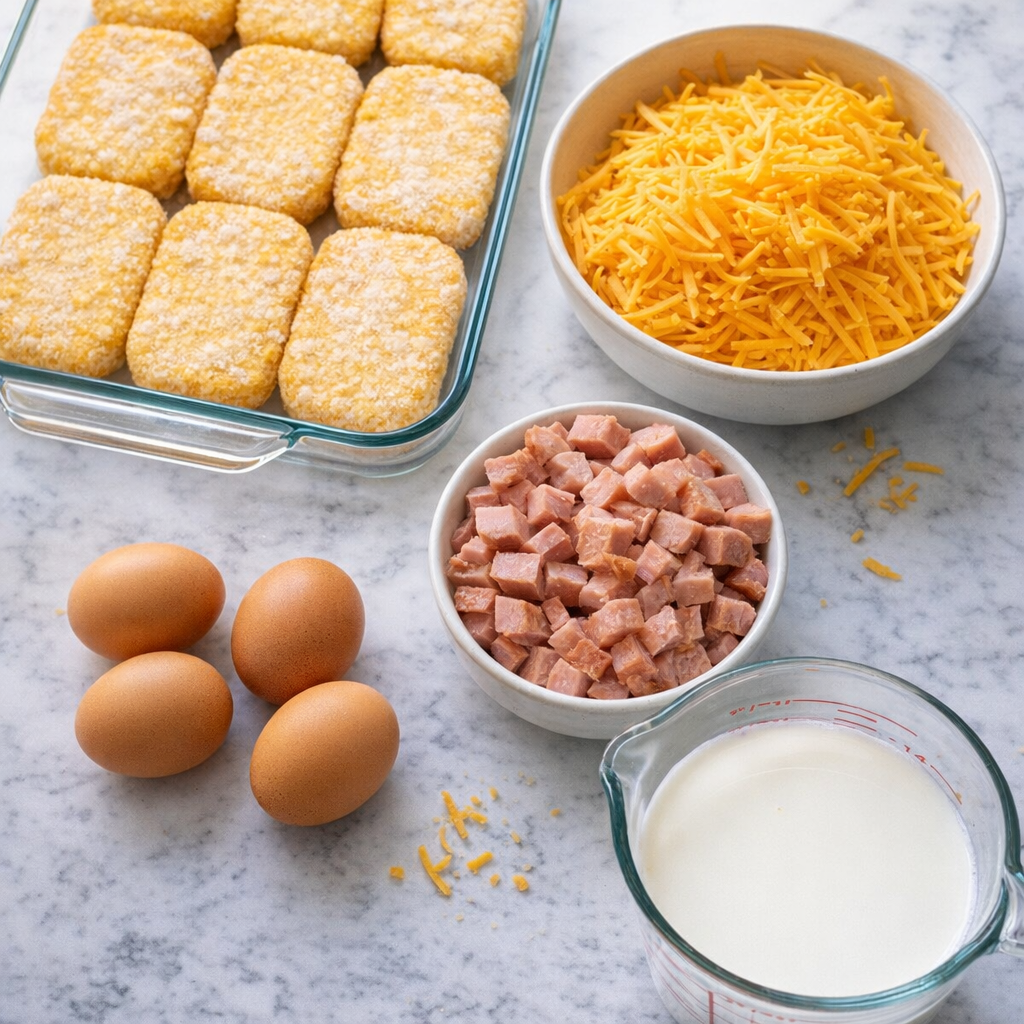
2 cups shredded low-moisture part-skim mozzarella cheese, lightly packed
3/4 cup finely grated Parmesan cheese
1 large egg
1/2 teaspoon garlic powder
1/2 teaspoon dried Italian seasoning (or dried oregano)
1/4 teaspoon crushed red pepper flakes (optional)
1/4 teaspoon kosher salt
1/4 teaspoon freshly ground black pepper
36–40 slices pepperoni (about 4–5 ounces), regular or turkey
1/2 cup pizza sauce or marinara sauce, for dipping
Nonstick cooking spray or 1 tablespoon olive oil, for greasing pans
Directions
Preheat your oven to 400°F (200°C). Line 3 rimmed sheet pans with parchment paper and lightly coat the paper with nonstick spray or a thin film of olive oil. This helps the cheese release easily and crisp instead of weld itself to the pan.
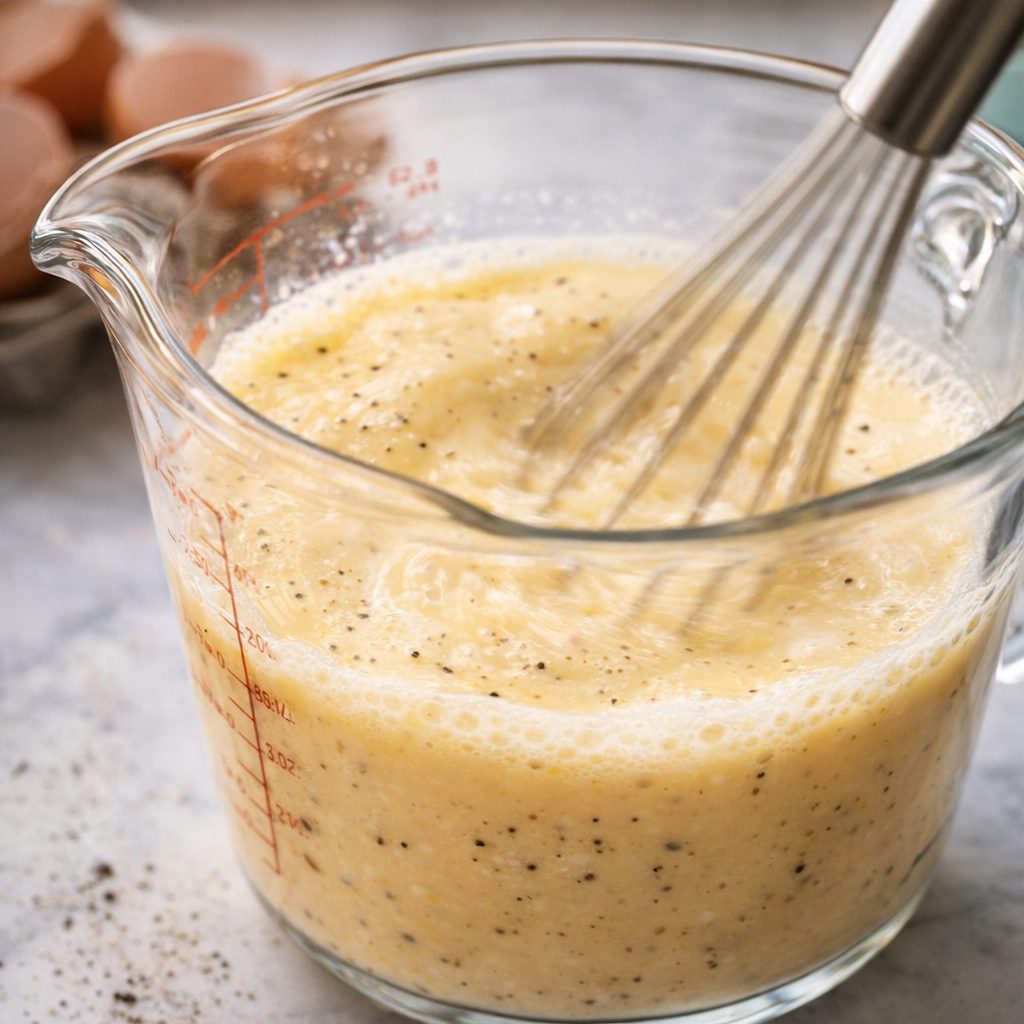
In a medium mixing bowl, combine the shredded mozzarella, grated Parmesan, egg, garlic powder, Italian seasoning, crushed red pepper flakes (if using), salt, and black pepper. Use a fork or your hands to mix until everything is evenly coated and the mixture starts to clump together slightly.
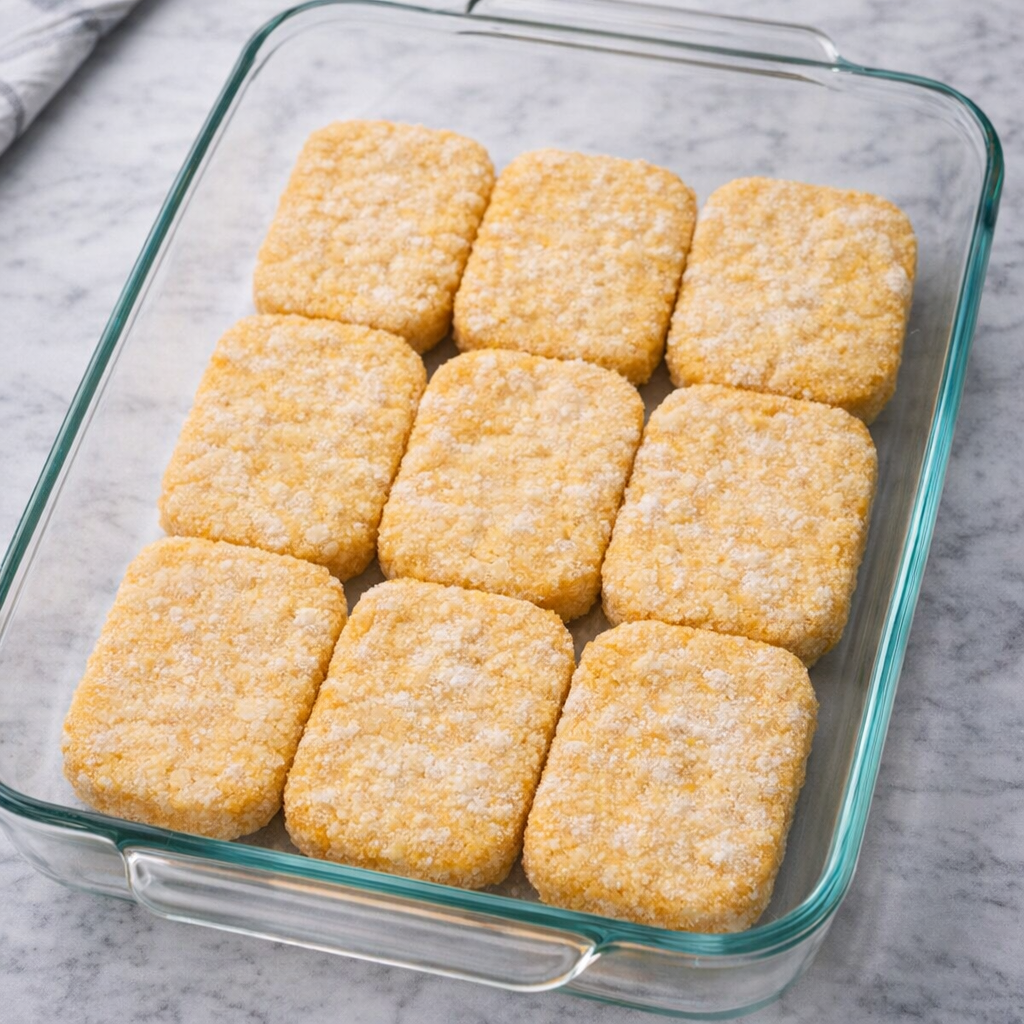
Arrange the pepperoni slices on the prepared sheet pans, spacing them a little apart so the cheese has room to spread. Aim for 12–14 pepperoni slices per pan, depending on the size of your pans.
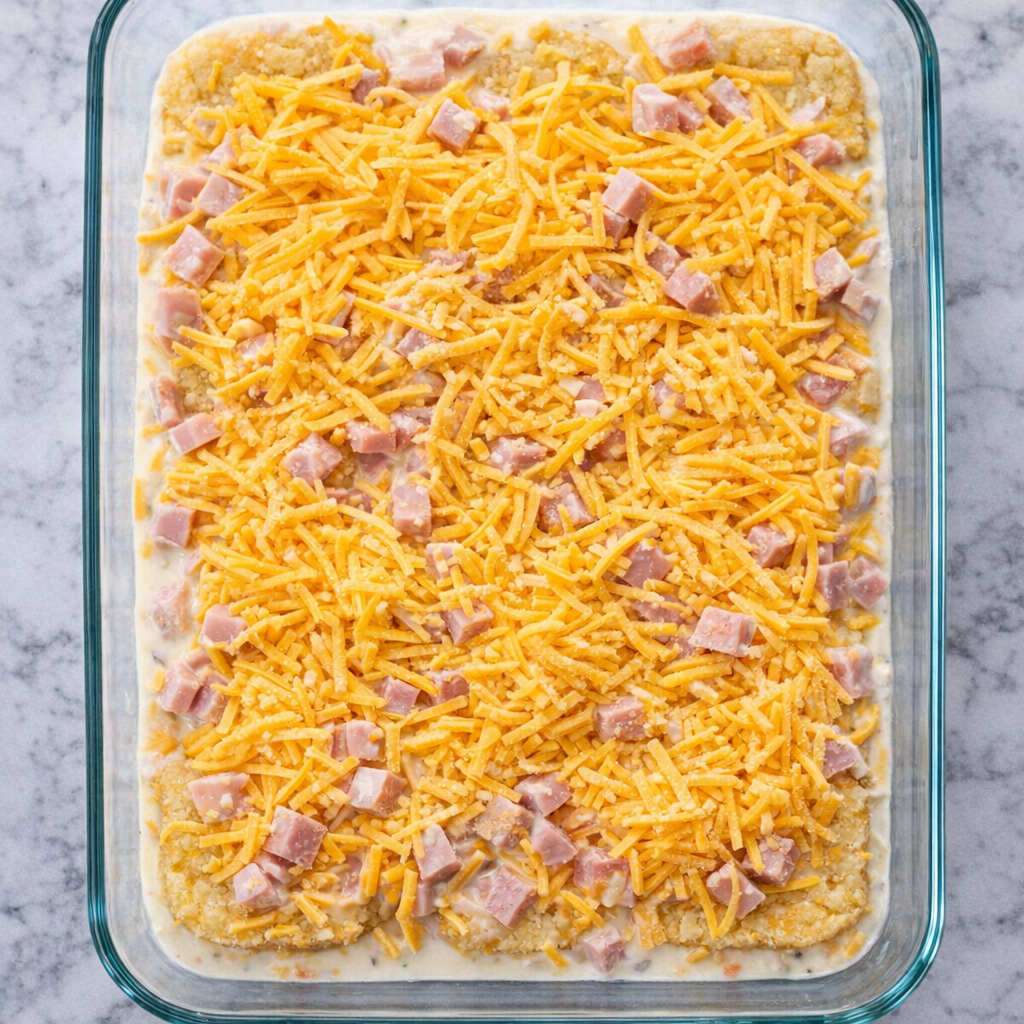
Using a small spoon or your fingers, place a heaping tablespoon of the cheese mixture on top of each pepperoni slice, pressing it down gently so it adheres and forms a small mound. You want the cheese to stay mostly on top of the pepperoni, but it’s fine if it spreads a bit—it will melt and fuse into a bite-size round.
Transfer the sheet pans to the oven. Bake for 8–10 minutes, rotating the pans halfway through, until the cheese is fully melted, bubbling, and just starting to turn golden brown around the edges. The pepperoni edges should look slightly crisp.
For extra crisp bites, switch the oven to broil on high for 1–2 minutes at the end of baking, watching closely so the cheese doesn’t burn. Pull the pans as soon as the edges are deeply golden and the tops have a few browned spots.
Remove the sheet pans from the oven and let the pizza bites cool on the parchment for 3–5 minutes. This brief rest helps the cheese set up so the bites hold together when you lift them.
Use a thin spatula to gently loosen and transfer the pizza bites to a serving platter or serve them directly from the sheet pans on a butcher block or wooden board. Warm the pizza sauce or marinara in a small saucepan or microwave-safe bowl and serve on the side for dipping. Enjoy while hot; they tend to disappear before the first commercial break.
Variations & Tips
For a meatier version, tuck a second slice of pepperoni under the cheese mixture or use mini pepperoni and scatter a few on top before baking. To add more of a supreme pizza feel, finely chop low-moisture toppings—such as bell pepper, onion, or black olives—and press a pinch into the cheese on each bite (keep pieces very small so they cook through in the short bake time). If you like things spicier, use spicy pepperoni and increase the crushed red pepper, or serve with a chili-garlic hot sauce alongside the marinara. For a milder, kid-friendly tray, skip the red pepper and use only Italian seasoning. You can shift the flavor profile by swapping Italian seasoning for dried basil and a pinch of fennel seed, which gives a more classic pizzeria aroma. If you want to prep ahead, mix the cheese mixture a day in advance and refrigerate; assemble on the pepperoni and bake just before guests arrive. Leftovers (if you have any) reheat well in a hot oven or air fryer for a few minutes to restore their crisp edges. To keep them very low carb, choose a no-sugar-added marinara and avoid piling on watery vegetables that could make the bites soggy.


.jpg)


